

First, take the color fabric you want for the front of your pillow. Measure out a 20in x 20in piece. Then cut. The edges don’t have to be perfectly straight.

Once you have your front piece measured and cut. Set aside
For the back, we are creating an envelop flap. Take your chosen fabric cut two pieces—first one, 20in x 13in—the second one, 20in x 14in

After you have each piece cut, set aside the 20x14in piece.
Take the 20in x 13in piece, on the 20in side (only on one end) fold down 1/4in along the whole end. Then iron flat.
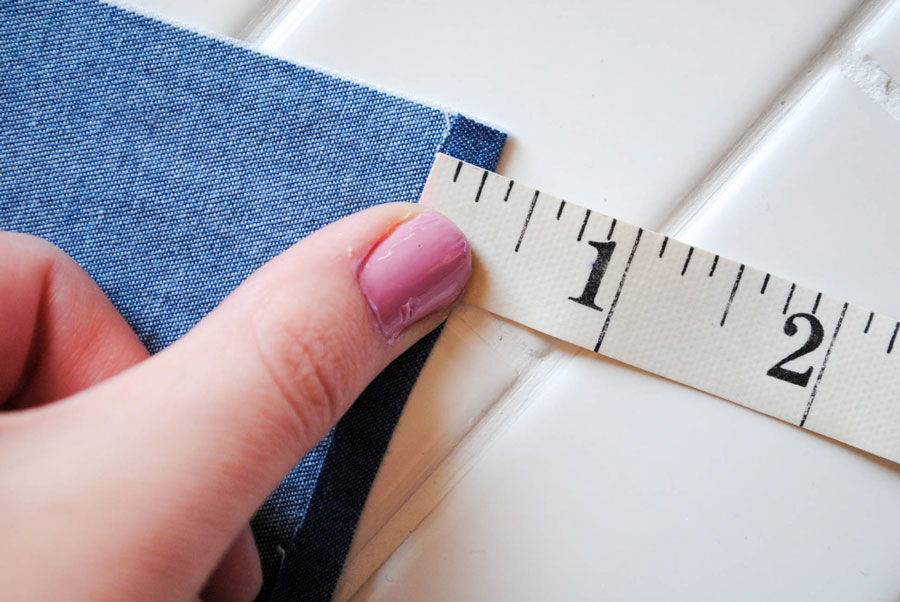
After ironing, fold over again, this time 1/2in. Then iron flat again.


After you have your flap ironed down, you will sew the flap down to keep it in place (about 1/8 in from the end).
Repeat steps for the 20in x 13in piece
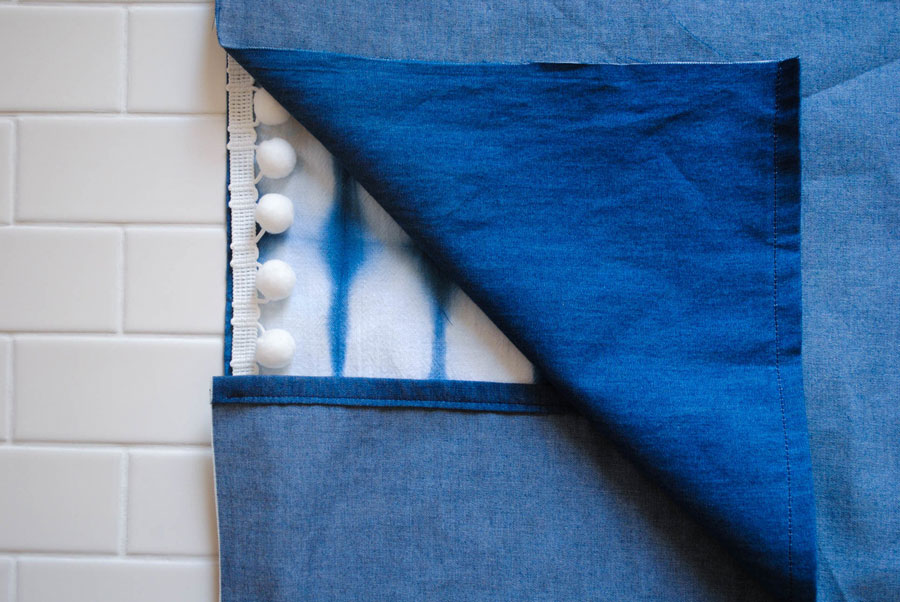
Now its time to add the pom pom trim!
Cut a piece of the pom pom trim 19in long.
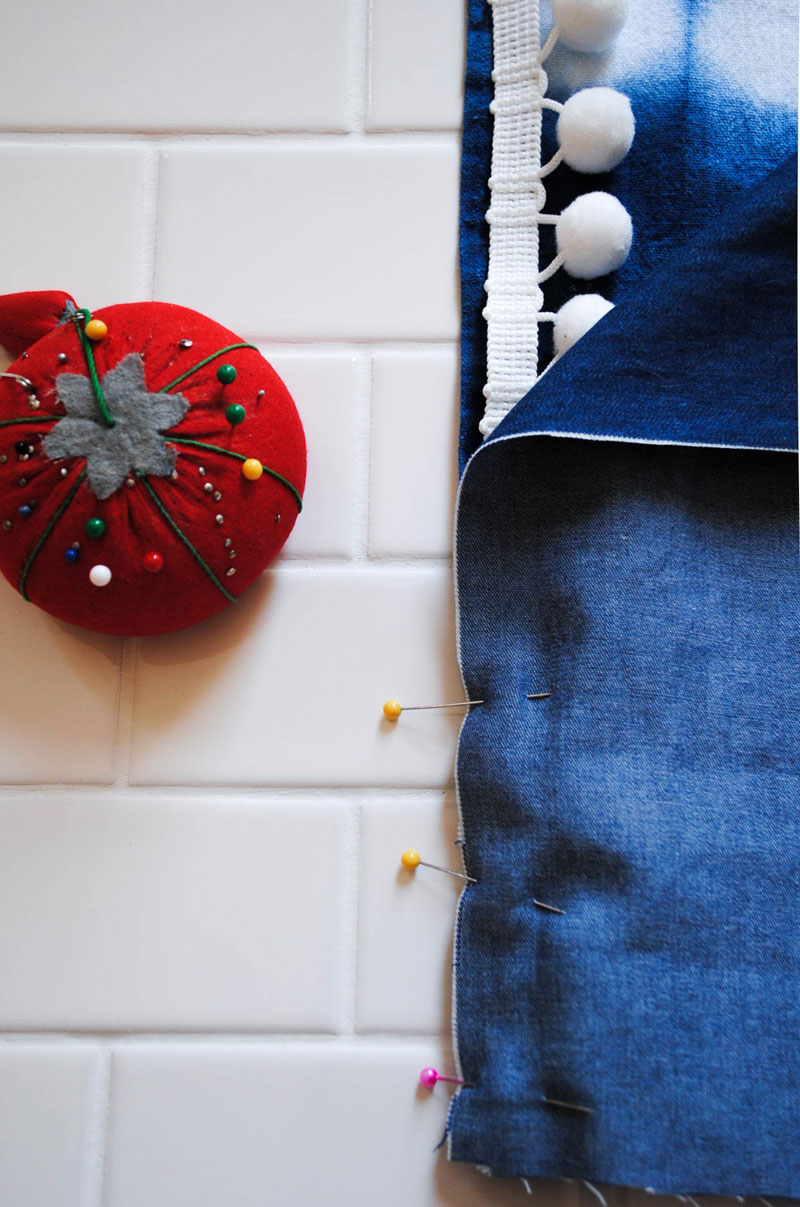
Lay down front piece of fabric (front side facing up, the inside of fabric facing the table surface). Then lay the pom pom trim down with a half inch spacing on each end (poms facing inward) then lay the 20in x 13in piece on top (front side facing down, back side facing up—right sides together)


Then lay the 20in x 14in piece on top, lined up with the other end of the front piece.
Then pin all 3 pieces together—the front piece, the pom pom trim and the back pieces)


Repeat for all 4 sides of the pillow

Once you have all 4 sides pinned, it’s time to sew!
Depending on the length of your trim—the trim I used is a half inch plus the pom pom part—will depend on how far inward you have to sew. We sewed about 1/8in in. Sew all 4 sides together using your sewing machine. Then turn your pillow inside out, add your pillow insert and tada!
